Hello Django - How to set up your first Django web app


I wrote this for myself whilst setting up Django for the first time.
Been meaning to write this post for my future self, who’s invariably going to forget the steps to set up Django on a new machine. So, here are the steps to set up Django on a Mac.
Django what? Django is a fully featured Python web framework that can be used to build complex web applications.
Installing Python 3
The first thing obviously is to make sure you have Python installed. Python 3 is the latest, so we will go with that by using Homebrew (if you don't have that installed, follow the instructions here)
$ brew install python3Note that since macOS ships with Python 2 already installed, after you install Python 3, you will now have both versions available.
To run Python 2, use the python command in the Terminal. For Python 3, use python3 instead.
We can test the installation by typing in the Terminal:
python3 —version Python 3.7.7I ran into an issue where I simply could not get python3 to run. Executing bothpythonandpython3would just run Python 2.7. Turned out, it was a symlink error, and running the following command, AND removing any redundant python PATH from the ~/.bash_profile fixed it.
brew link —overwrite python3
See python - Mac Python3 Not Working, any idea? - Stack Overflow and “python” points to Python 2.7 under macOS Homebrew - Super User
Setting up Python Virtual Environment
Now that we have Python 3 installed, we are ready to setup Virtualenv.
Installing Virtualenv
We will use pip, a command line tool that lets you manage and install Python packages, to install virtualenv.
Note that when you used Homebrew to install Python 3, it also installed pip for you under the name pip3. So pip3 is already available for you.
In the Terminal, execute the command below:
$ sudo pip3 install virtualenvCreate a new virtual environment
Create a new virtual environment with the following command:
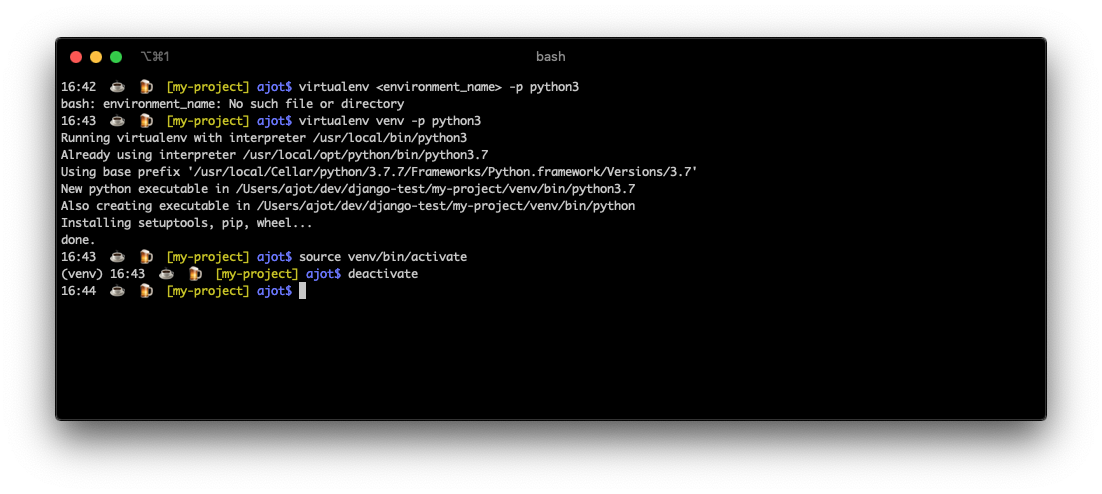
$ virtualenv <environment_name> -p python3Our virtual environment is created. Now before we start using it, we need to activate:
Activating a virtual environment
$ source venv/bin/activateYou will know it worked if you see (venv) in front of the command line, like this:
Installing Django
We are now ready to install Django.
$ pip install Django==3.0.5
Verifying Django Install
To verify that Django can be seen by Python, type python from your shell. Then at the Python prompt, try to import Django:
$ python
>>> import django
>>> print(django.get_version())
3.0.5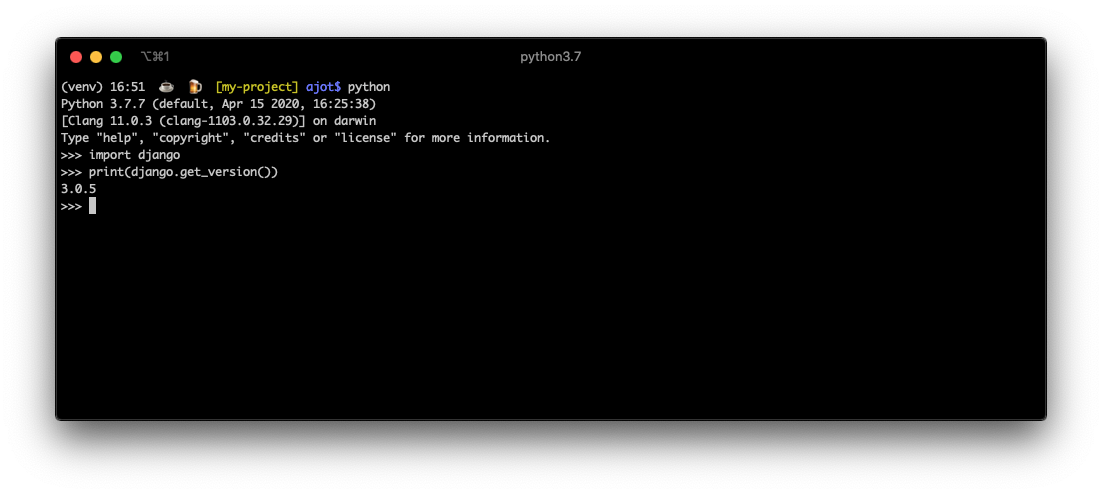
Starting a New Project
To start a new Django project, run the command below:
django-admin startproject mysiteThe command-line utility django-admin is automatically installed with Django.
This will create a mysite directory in your current directory.
Running the web server
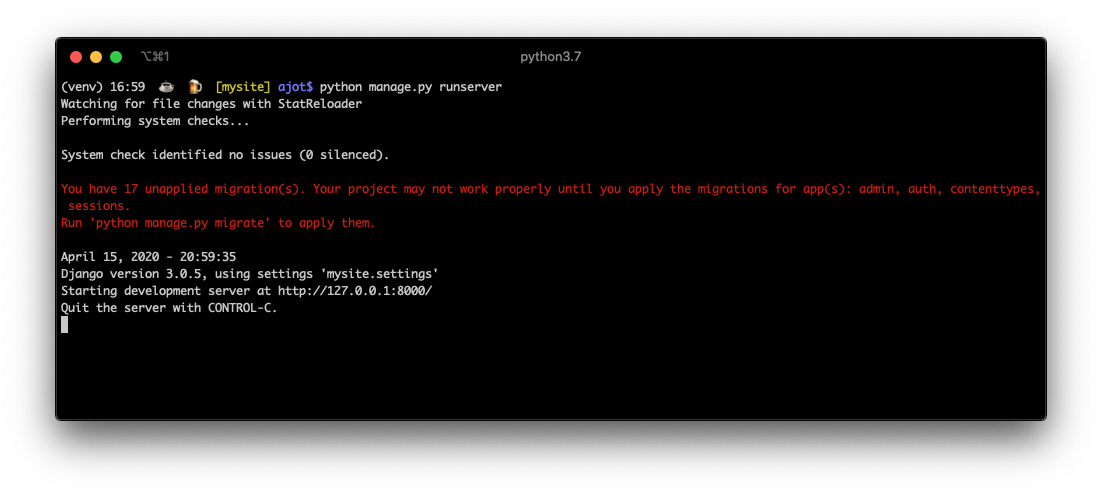
Django comes with a simple web server installed. It’s very convenient during the development, so we don’t have to install anything else to run the project locally. We can test it by executing the command:
$ python manage.py runserver
You may receive some migration errors. For now, you can ignore the migration errors.
Serve the website
Now open the following URL in a Web browser: http://127.0.0.1:8000 and you should see the following page:
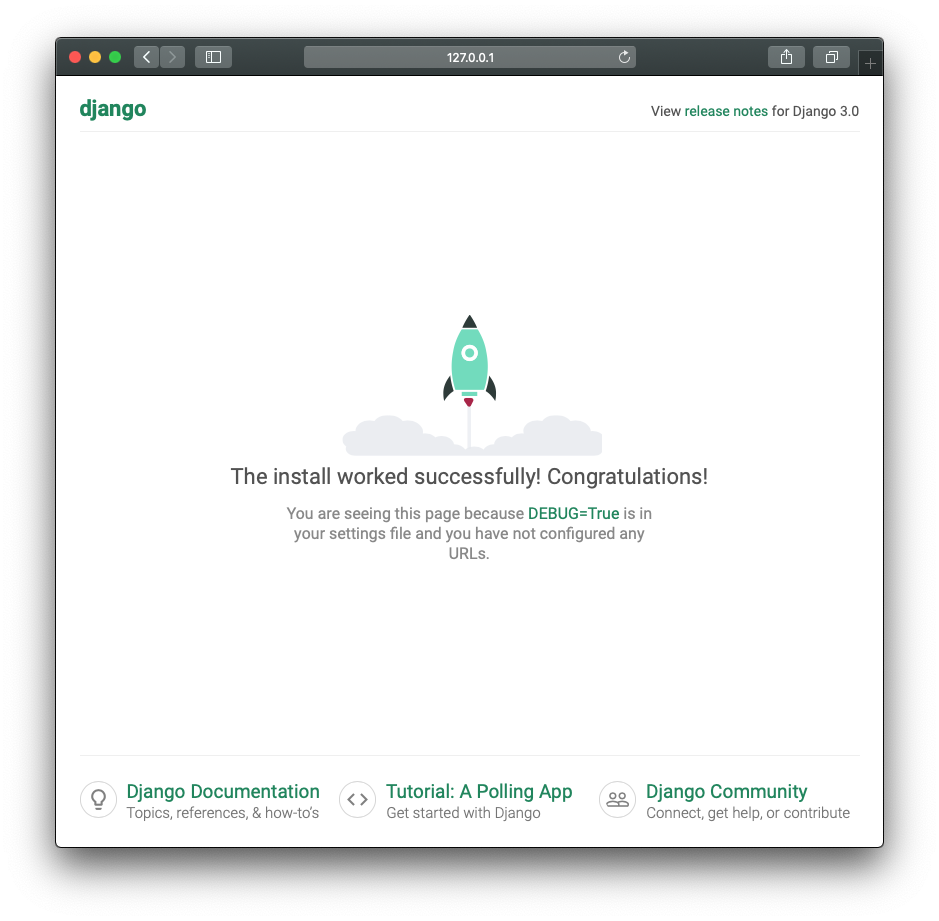
Congratulations on your first Django-powered page!
Hit Control + C to stop the development server.
Sources