Changing the Number of Posts Displayed Per Page in Ghost CMS

So, I wanted to customize the number of posts displayed per page on my Ghost CMS website using the Dawn theme. The default setting was showing only 5 posts, and I wanted to bump that up to 25.
Here's how I did it, broken down into simple steps, so it's easy to remember and follow along.
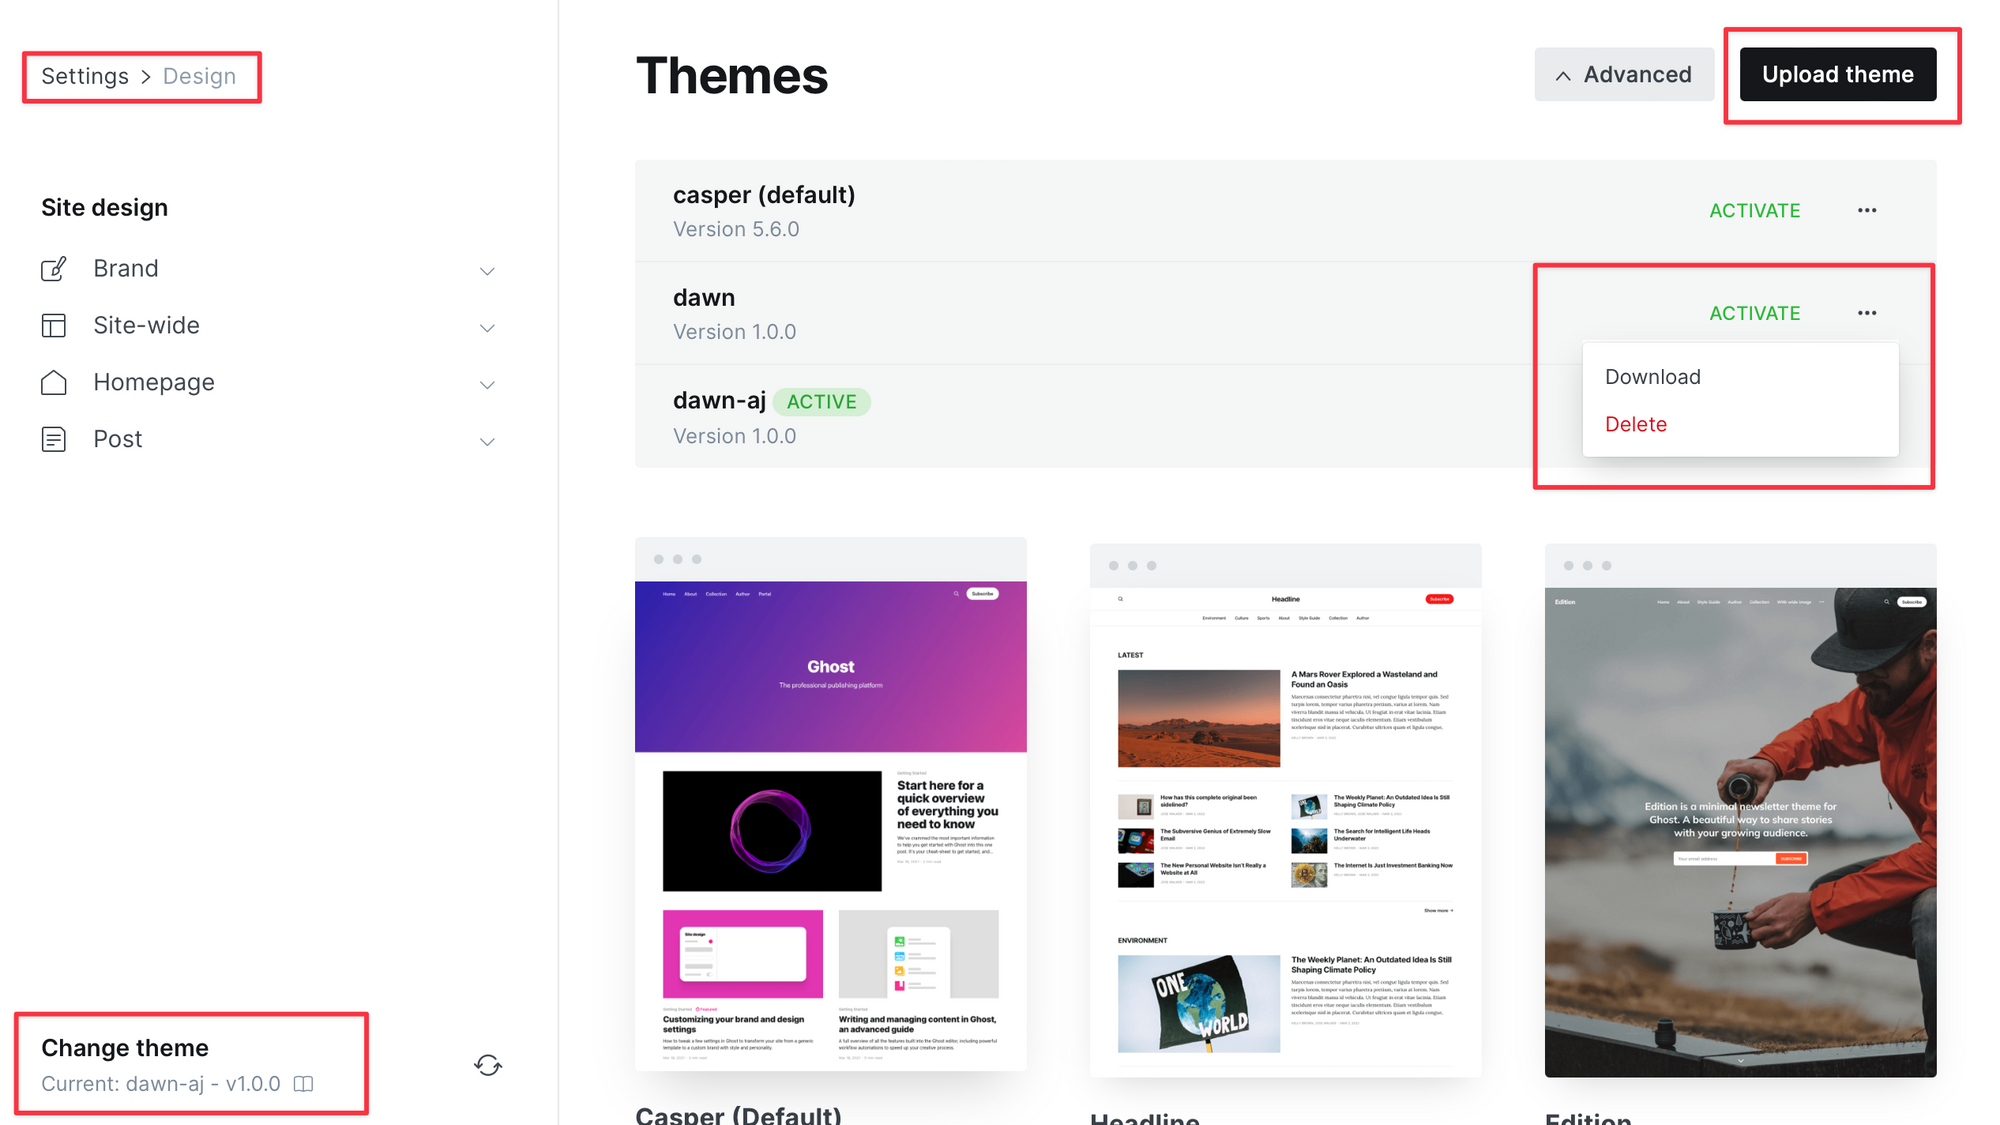
Download the theme you are currently using
First, we need to download the current theme to access the file containing the posts' settings.
Go to **Settings -> Design** in your Ghost CMS admin panel.
Edit package.json File
- Open the downloaded theme directory and locate the `package.json` file.
- Find the key
posts_per_pageand change its value to your desired number (For Dawn theme, by default, this was set to 5. I changed mine to 25). - Save the changes to the file.

Zip Up the Directory
We need to prepare the modified theme for uploading back to Ghost CMS.
Zip up the entire theme directory, ensuring all necessary files are included (on a Mac, you can right click on the directory, and click "Compress").
Upload the Modified Theme to Ghost CMS
Finally, we need to upload the customized theme back to Ghost CMS.
- Head back to the **Design** section in your Ghost CMS admin panel.
- Upload the zipped directory containing the modified theme.
Fin!


